C&D’s Wedding Cake: Fruitcake with Orange Marzipan, Royal Icing and Chocolate Roses
Furiously back posting at the moment to try to get caught up with the photo queue waiting in iPhoto.
So, back in May (shockingly long ago, I know) I posted the bottom tier of C&D's wedding cake. Now I'm posting the top - be warned - it is a LONG post but with lots of pictures! And hopefully the middle will follow in the not too distant future (before their 1st wedding anniversary at least!).
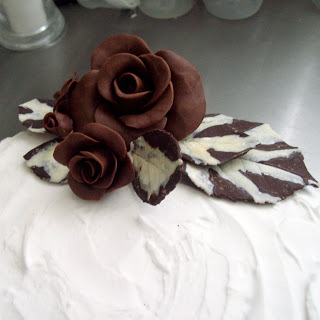
The top was an 8" traditional fruit cake covered with homemade marzipan and royal icing. I made chocolate roses and leaves to go on top.
I made the cake a fortnight in advance, and fed it with a little cherry brandy, then wrapped it tightly in greaseproof paper and cling film until I was ready to ice it, the following week.
My recipe is adapted from a Delia one, which also gives helpful hints on scaling up cake recipe quantities for tiers. I've used this recipe a few times now, and it has always been a success. It does mature well, but the beauty of it is that it really doesn't have to - it is moist and delicious straight after it has cooled, which is a great bonus to someone like me who has a tendency of leaving things to the last minute...
I made this particular cake gluten free, by using Dove's Farm gluten free plain flour blend, and adding a little extra liquid (treacle and brandy) to the mixture, because the flour tends to be a bit drier than regular.

Rich Fruit Cake (Makes 1 8in cake)
- 450g currants (I used Vostizza currants)
- 175g sultanas
- 175g raisins
- 50g undyed glace cherries
- 50g dried apricots
- 50g almonds (skin on)
- 3tbsp cherry liqueur (add an extra one if you're making the gluten free version)
- 225g plain flour (regular or gluten free)
- a generous pinch of salt
- 1/4tsp freshly grated nutmeg
- 1/2tsp mixed spice
- 225g soft brown sugar
- 1tbsp black treacle (add a little extra if you're going gluten free)
- 225g unsalted butter
- 4 large eggs
- grated rind of 1 lemon
- grated rind of 1 orange
The night before you want to bake, finely chop the glace cherries, dried apricots and almonds then put all the dried fruits and nuts in a bowl with the brandy. Mix well (to make sure everything gets a little bit wet with brandy), cover, and leave to soak for at least 12hours and preferably 24hrs.
When you're ready to get baking, preheat the oven to 140C (130 if you're using a fan oven). Grease and line an 8" tin (springform or loose bottom) with baking parchment.
Sift the flour, salt and spices together into a bowl. In a large bowl, cream the butter and sugar well until light and fluffy. Beat the eggs in a mug, then add them little by little to the butter mixture. If it looks like it is starting to curdle, add a tbsp of flour, and that should bring it back together.
Once all the egg has been added, mix in the flour gently. Then add all the fruit, nuts and soaking liqueur, the treacle, and the grated orange and lemon rind, then give it some welly and mix mix mix! You need to get the fruit evenly distributed, and it's quite a large quantity.
Pour the mixture into the prepared tin. Cut a double circle of baking parchment the same size as the top of the tin, then snip a 1" hole out of the centre, and cover the top of the cake.
You can get fancy heat distributing silicone strip things to go round the outside of cake tins to ensure even cooking, but I didn't have any, so chose the old fashioned approach, and tied a folded sheet of brown paper around the tin for extra insulation.
Bake on the lowest oven shelf, and exercise patience: resist the temptation to open the door and have a peek before at least 4 hrs have passed. Baking time is approximately 4.5 to 4.75hrs. This one took closer to the 4.75hr mark, but it depends on your oven etc.
When it is cold, wrap in a double layer of greaseproof paper and then a double layer of clingfilm, and it will mature nicely for a couple of weeks.
If you want to give it a boozy edge, unwrap periodically, and drizzle over a few tsp more of cherry liqueur.
I made my own marzipan to cover it, using this recipe for zesty orange marzipan from the BBC GoodFood magazine. The recipe also has a lot of useful info about cooked vs raw egg marzipan, storing it, and drying it out so that the cake will last a couple of months.
I'd never made marzipan before - it was so easy! And it tasted so much fresher and less cloyingly sweet and artificially almondy than some of the ready made varieties. I definitely recommend the recipe, and it does make a difference to the overall cake taste.
When it came to icing the cake, I first brushed it all over with melted shredless marmalade, then rolled out my marzipan and draped it over. I smoothed down the sides and a couple of little cracks around the edges, trimmed away the excess, and then left to dry out over night. This step is important in getting your cake to keep well - the moisture from the raw eggs needs to dry out.
I let the marzipan dry out for 24hrs, then iced it with royal icing. I made mine using royal icing sugar, which already has powdered egg white in it, but you can also use normal icing sugar and fresh egg white. I also added a couple of drops of glycerine to prevent it having a really hard set.
I decided to go for a textured finish - I spread it on generously to the top and sides, with a large palate knife, then swirled the top, and ran the knife vertically up the sides to create ridges.
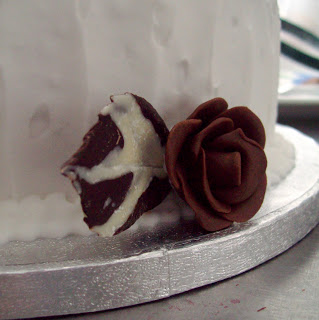
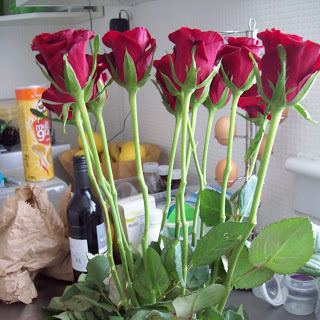
To decorate, I made chocolate roses using 50% modelling chocolate and 50% fondant icing that I kneaded well together (actually I got Mr E to do it, as there was no way my weakling wrists were going to hold out!). There are lots of good tutorials available online how to do this, and it really is quite easy - you'll be surprised!
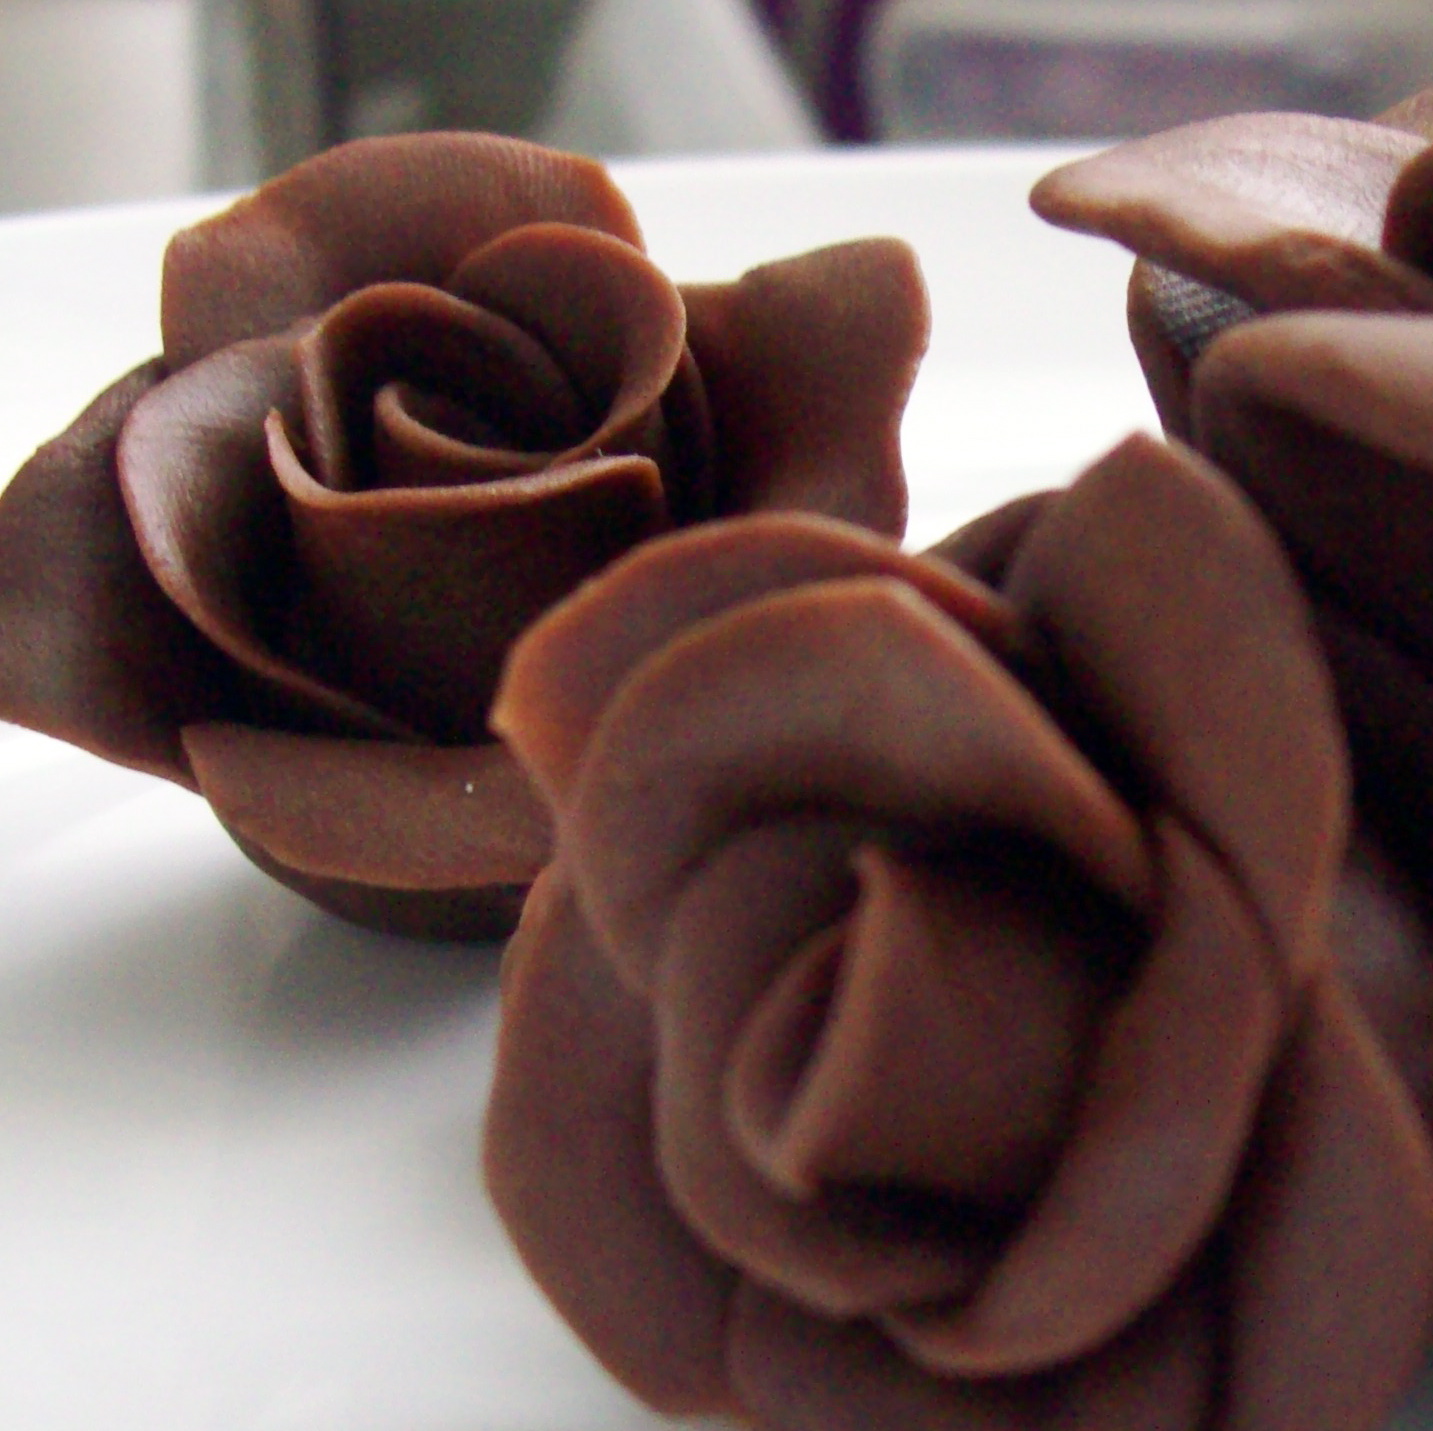
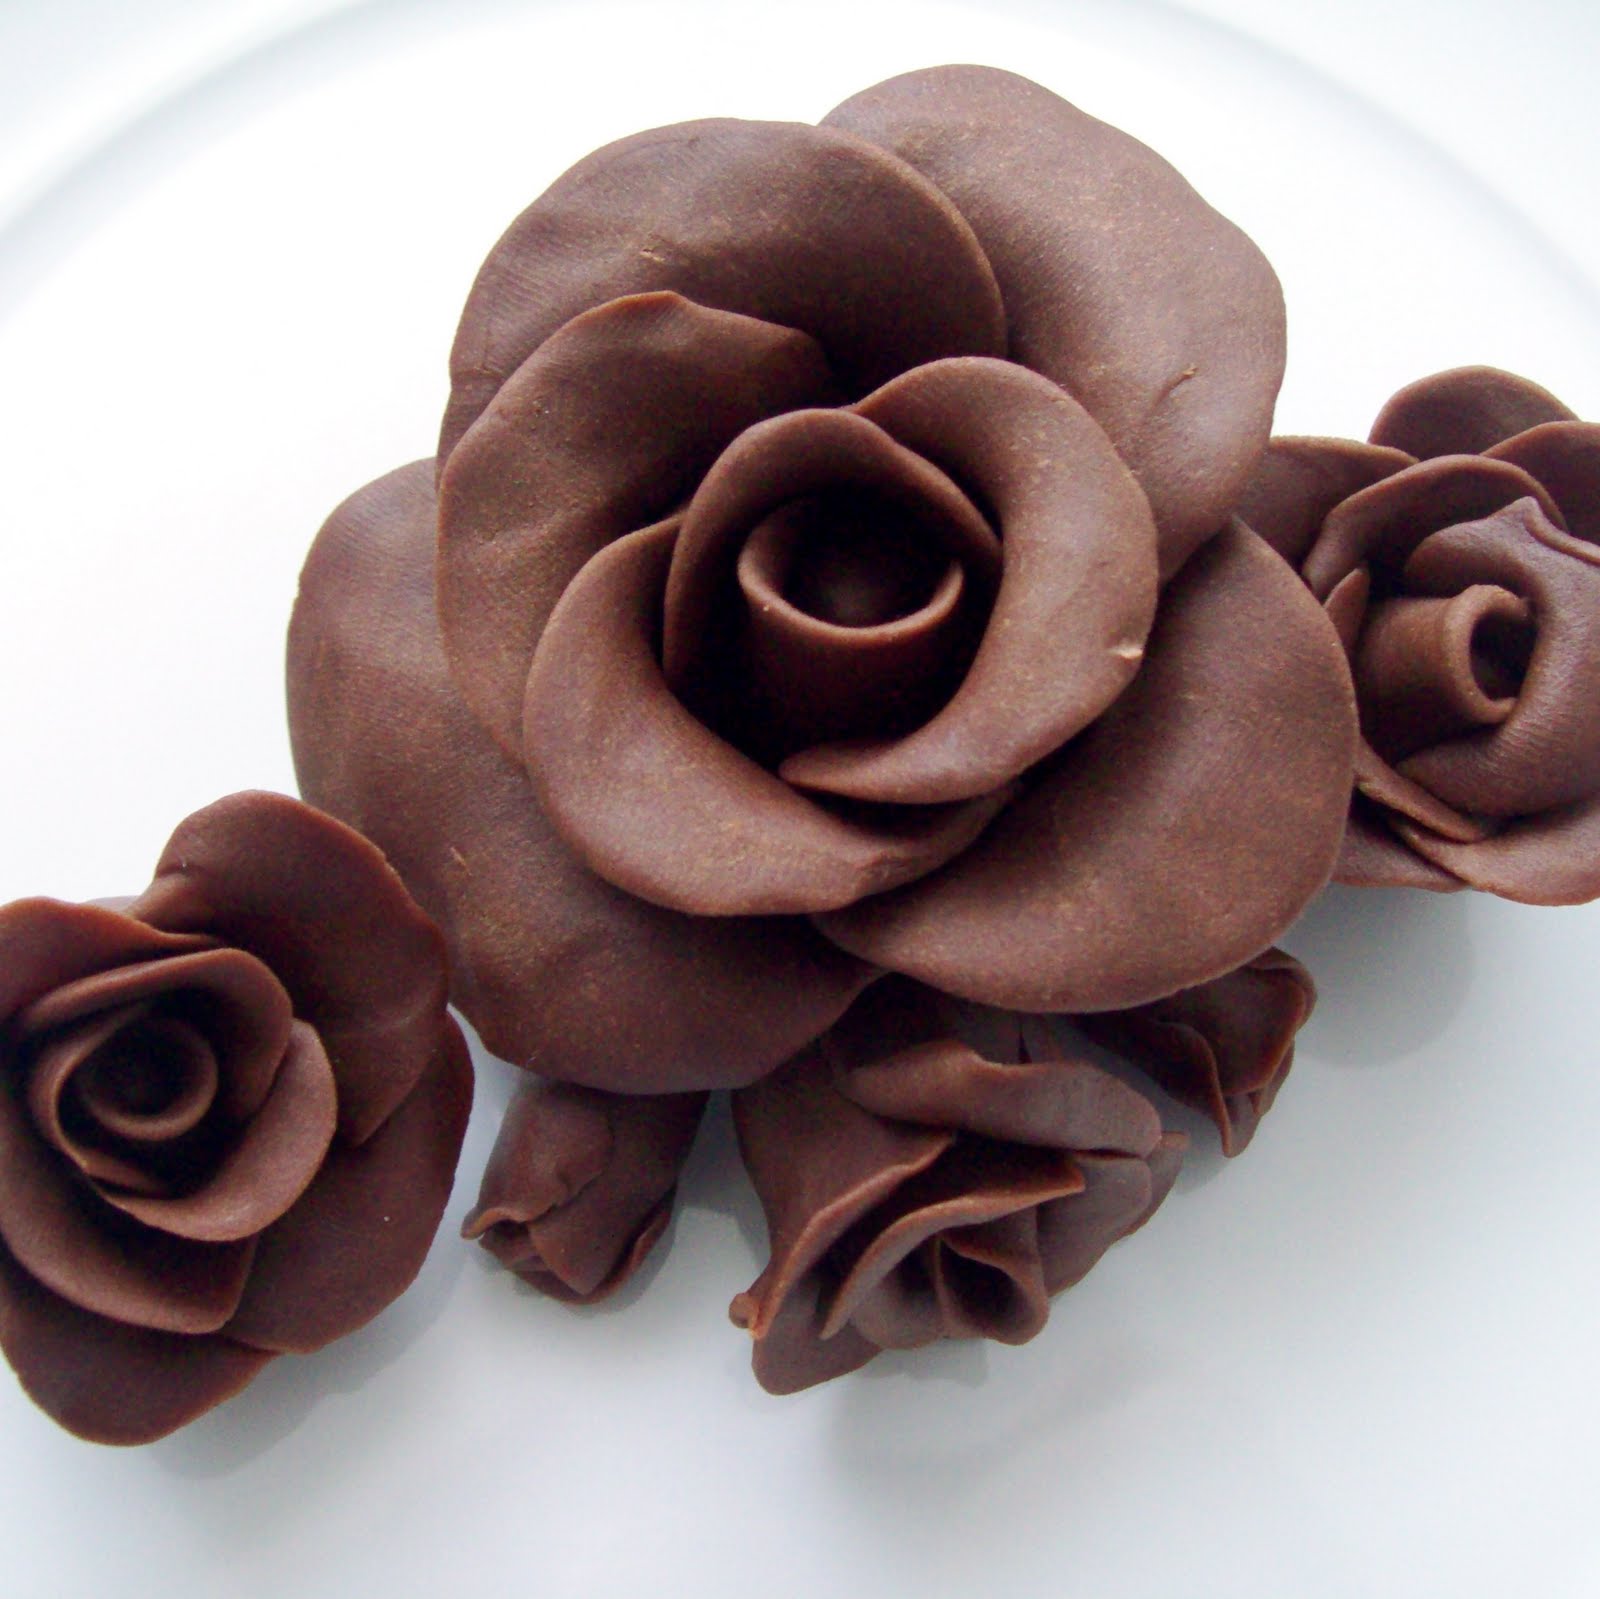
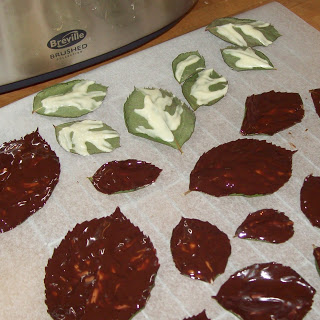
I made some chocolate rose leaves marbled with white and dark chocolate to finish the whole thing off - which created some comedy looking naked roses in the process!
Epic post over!!!!! Well done to anyone that actually read it - or even scrolled through this far looking at the pictures. It means the next cake I have to make, I have no excuses for not being able to lay my hands on the recipe tho... and that was the main point of this blog!